
The Sasukinei Smokeless Kiln


My memories of Kusakabe Masakazu's wood-fired kiln in Miharu, Japan, are filled with images of camaraderie, mysterious beauty, the application of deep knowledge, and the great anticipation that immense yet subtle transformation is taking place just inches away beneath the surface of shimmering bricks. Two years later, upon my return, creating a similar experience became one of my goals.
I was fortunate to meet David Caradori of Caradori Pottery, and to facilitate a kiln-building workshop through him with Kusakabe-sensei. Nearly 15 years later, a friend put some fire brick up for sale and helped me begin gathering the materials to make a kiln of my own.
Now, 20 years after leaving Japan for home, we are finally constructing the kiln. Kusakabe, with Marc Lancet, wrote and published a book, Japanese Wood Fired Ceramics, that has been invaluable in getting this project off the ground.
Transporting a kiln-sized quantity of firebrick is no mean feat, and only through the generosity of friends who lent trailer and truck, and family their time and sweat, did we manage to move thousands of bricks to their new home at NottaLottaWatta.

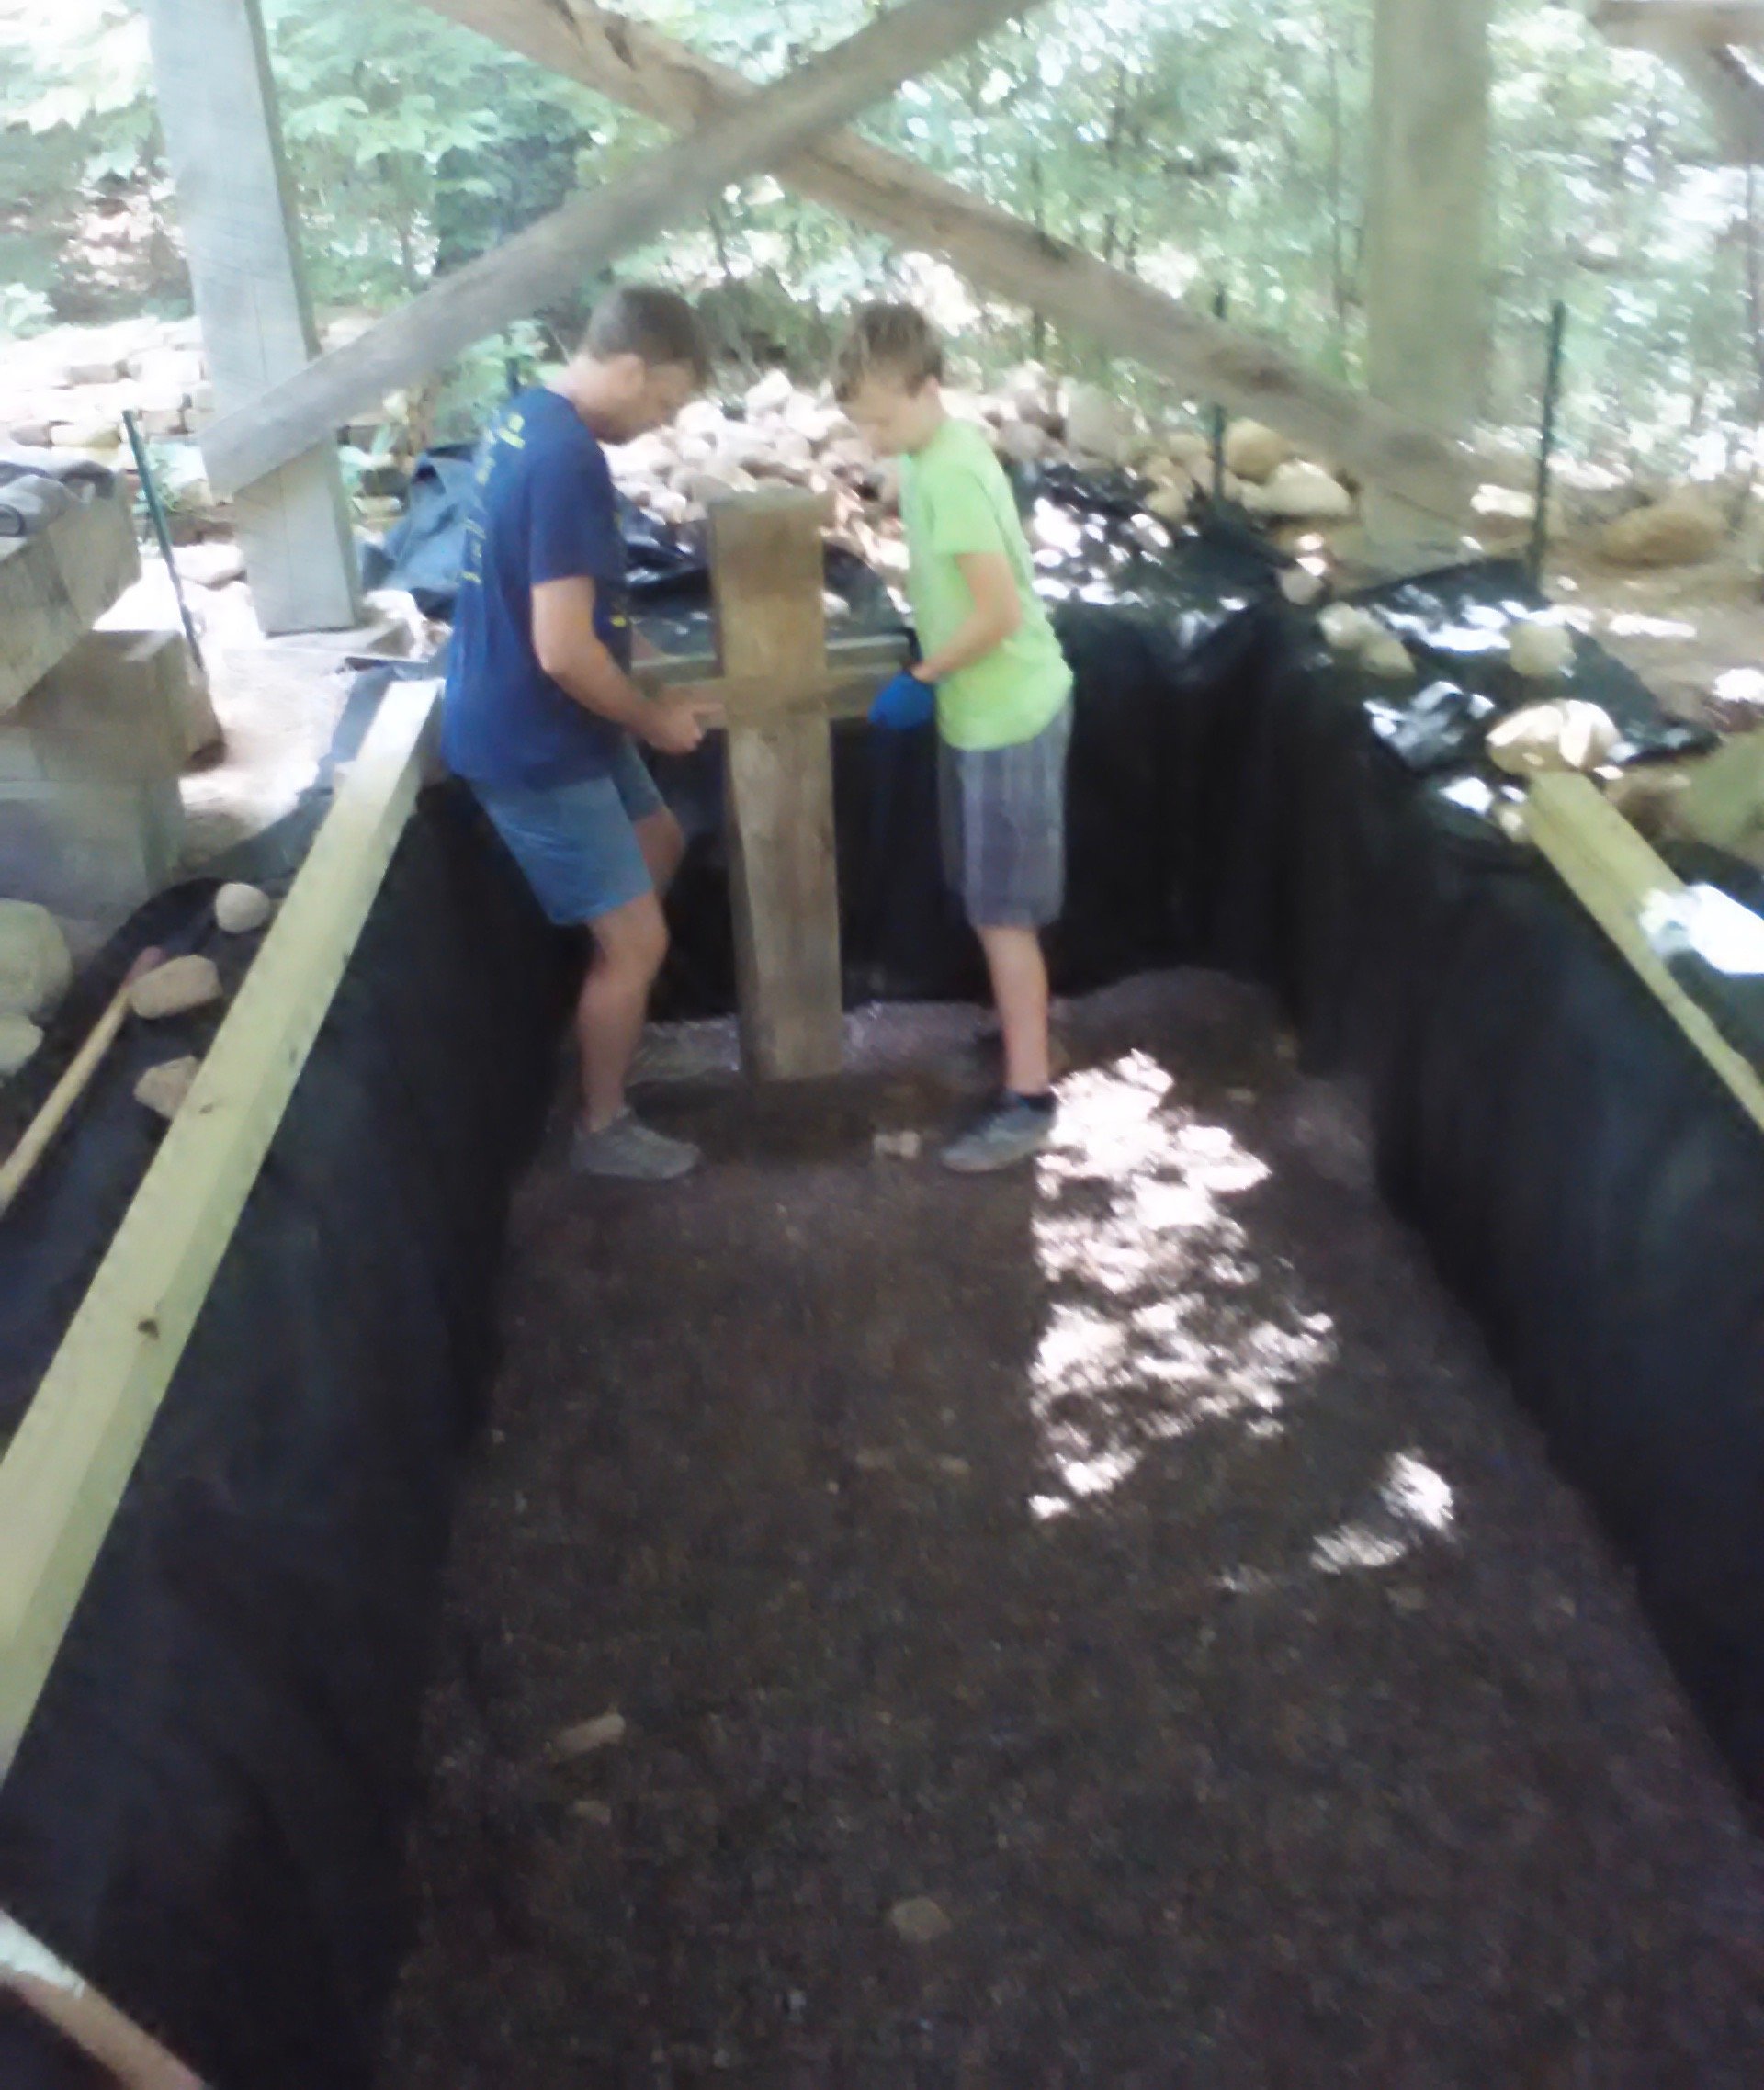
We broke ground in April of 2017, and slowly, one 5-gallon bucket at a time, excavated a hole six feet wide, twelve feet long and four feet deep. Winters here are cold enough that any accumulated water will freeze and expand, heaving bricks, foundation and anything else to the point of collapse. To avoid this frost heave, we went down four feet, including a perforated drain tile to move any moisture away from the foundation.

Eric and Carla are taking a turn in the pit, as it came to be known. As wheelbarrow loads of crushed rock were dropped in, they moved material to the far end and helped compact the rock. In this picture you can see the filter cloth with which we lined the hole to keep sediment from drifting into the foundation and hindering any water movement down and away from the kiln.
In the absence of a commercial compactor, Eric and I made our own from an 8x8 timber scrap and a couple of 2x4s.

Behind Eric, Tessa the dog stands at the edge of the drain trench, now filled-in.

It takes a lot of work to excavate and fill in a hole this size, and Mom and Dad both put in some time on the shovels.


Using 1-1/4" hand railings (it's what we had!) we smoothed in leveling sand over the surface of the crushed rock. Finally, the first bricks were laid, and soon we had the first two courses of the kiln floor set in place.

At every step, we found it helpful to plan, measure twice, and recheck each brick with the strings. An old friend once said, "If you start off kattywompus, you're going to end up kattywompus." Noone wants a kattywompus kiln.


As we laid in the final bricks, the bricks that had been removed from the timber frame's floor to make way for the kiln were replaced around the edges of the kiln, extending out the back. Not only did it make for a much more aesthetically pleasing space in which to work, but it made for a far safer foot path around the construction site.
The mortar bucket and the rubber mallet would be the most used tools for the next couple of months.
At this point, it felt like we could finally get into the building of a kiln. We carefully test laid the first course of bricks, prepared the fire clay and sand mortar, and began bricklaying 101.

The plumb lines on the right indicate where the hole in the shed roof will be cut for the chimney. We began all our kiln floor measurements from these points.
This picture shows the first big push. You are looking into the stoke hole below the firebox. This will be lit at the beginning, then closed off as wood stoking moves to the upper firebox chamber. You can also see the flues leading to the main ware chamber and then those leading into the chimney.
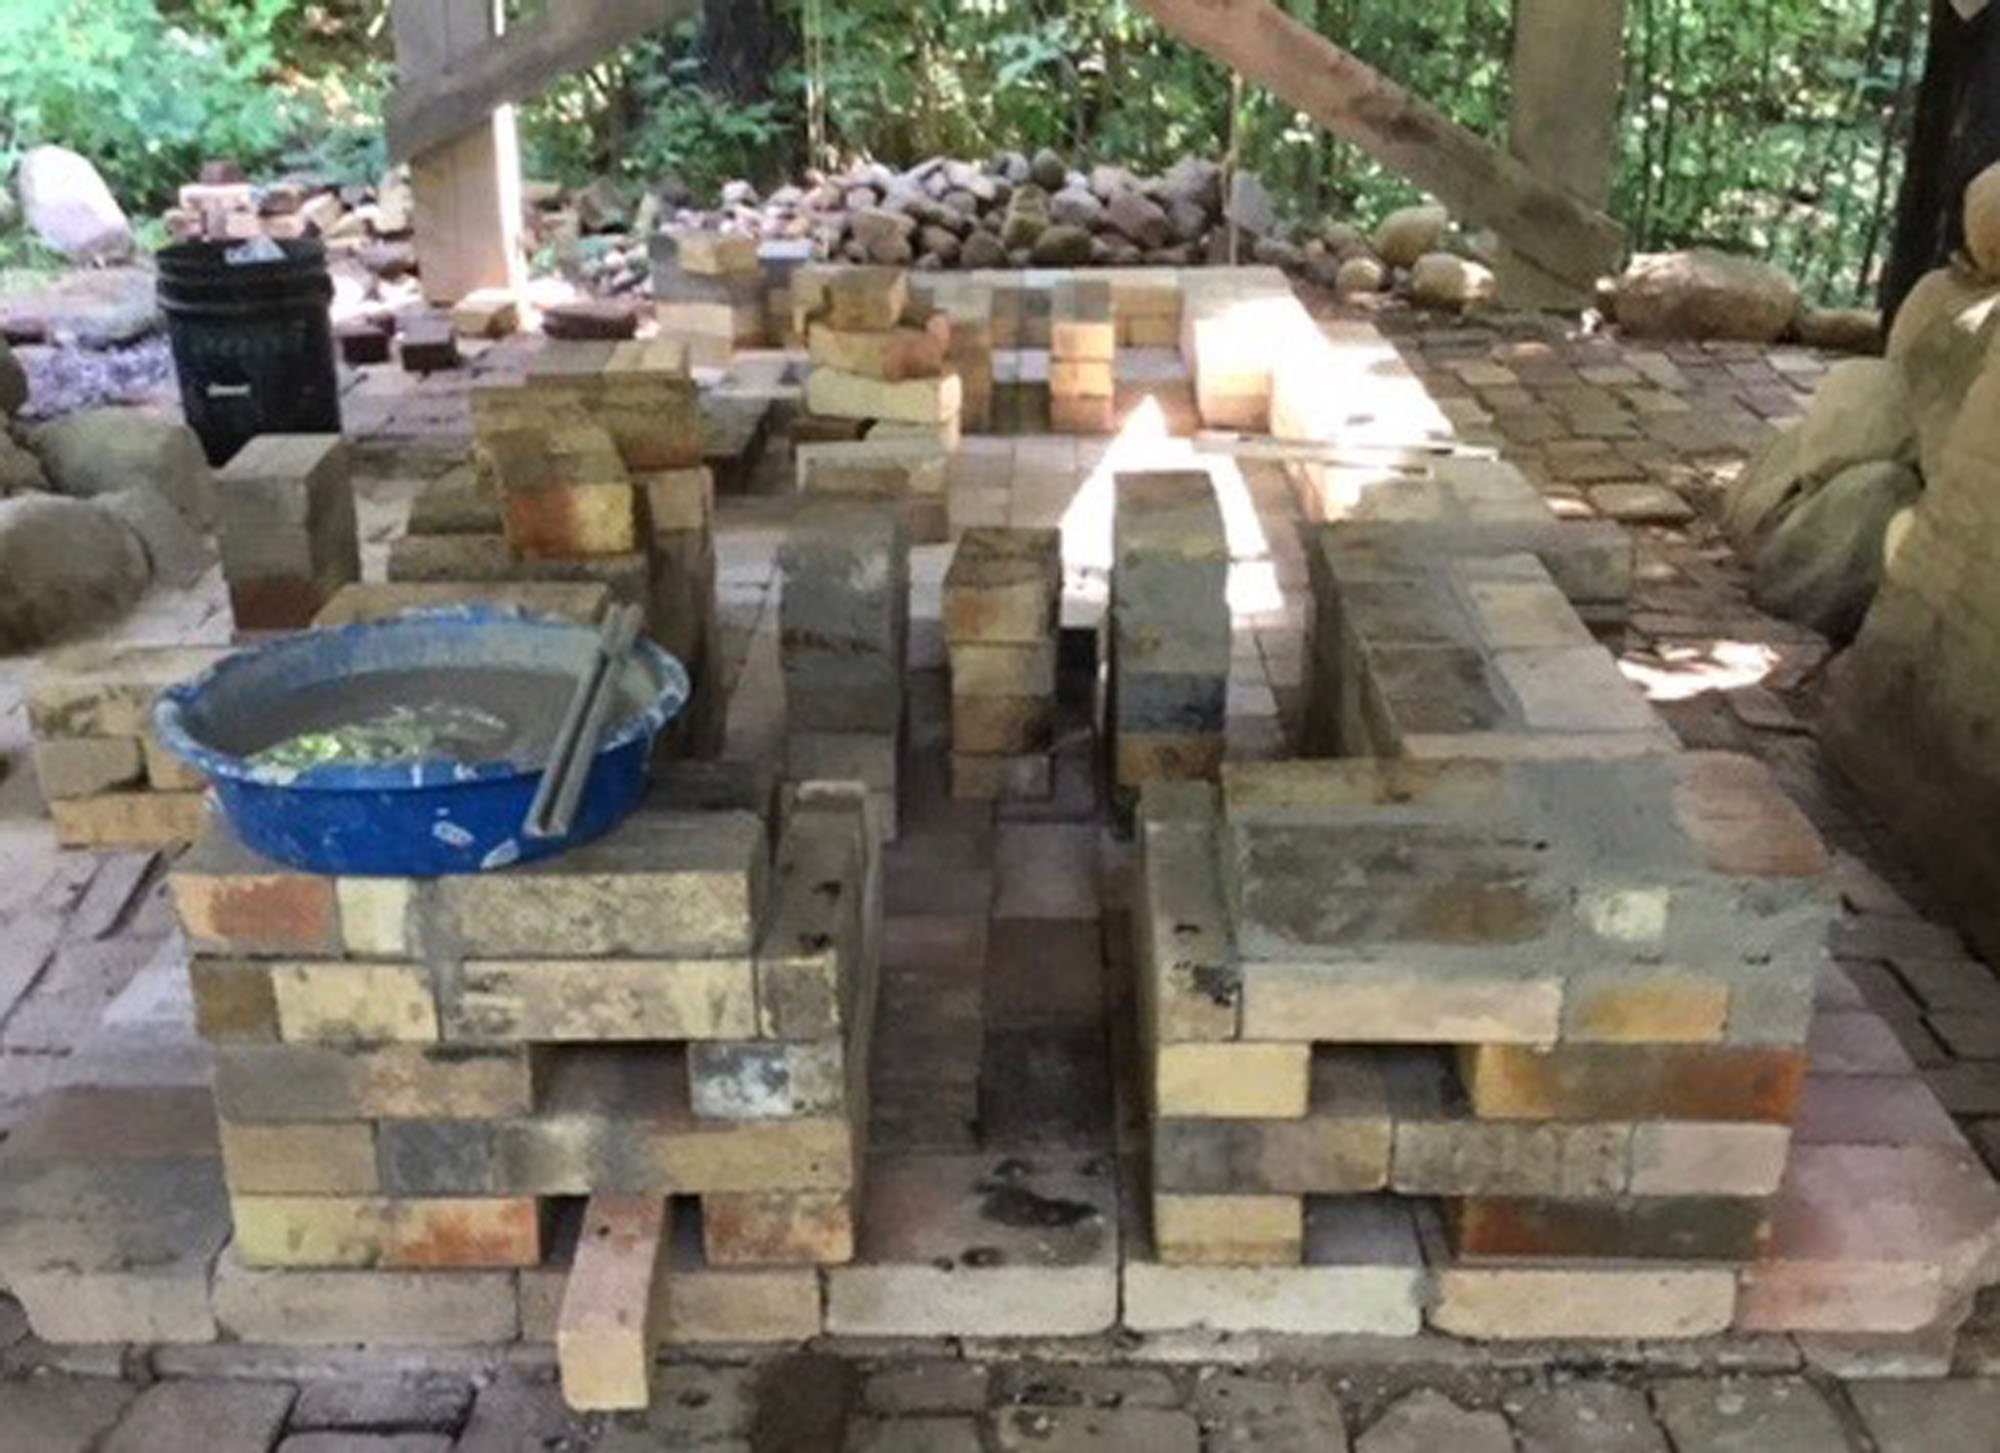
The door to the ware chamber will be on the left of the kiln. There is also a door leading to the chimney just visible on the left side of the kiln at the rear.
The next stage involves building an arch support over the main ware chamber. The fire box is almost to the stage of the fire grate, and the chimney is about ready to explode upwards. Bricks will be built up and over the support. When the arch is complete, the four bricks at the corners will be removed and the whole arch will be slid out. Theoretically.

The chimney involved lots of different sized bricks, some of which were sourced at Smith-Sharpe Fire Brick Supply in Minneapolis. The longer bricks get expensive fast, and their advice saved me money on more than one occasion. They are located near Continental Clay, making it a convenient place to grab bricks and pottery supplies.
There's a small chamber beneath the chimney for unique firing effects. Supporting this, as well as creating the damper system was tricky. Considering the massive weight of the 20 feet of chimney above, I was more than a little nervous about beefing this area up.


From this point on, the tricky part of chimney building would be to keep it straight and true all the way up to the top.
The firebox was built up at the same time as the chimney. As these two hefty pieces of masonry would buttress the ware chamber's arch, they had to come up at approximately the same rate to keep the arch from possibly spreading one way or the other. Once the kiln is up to temperature, the fire will be stoked in the firebox, above the bourry box. This down-draft feature of the Sasukinei kiln contributes to its efficiency, and the difficulty in making a grate large enough!

About halfway up, a row of bricks is offset to carry the bricks making up the fire grate. Wood will be stoked into this area, rest on the grate, and burn down into the bourry box.

Due to the length required to span the firebox, we used cast-able refractory to create large bricks capable of withstanding the intense heat across this span.

As bricks are added around the fire box, six draft holes were created at the front. These will be manipulated to allow proper airflow into the kiln.

On the right-hand side, we built in the primary stoke hole. The protruding bricks provide a shelf on which the door rests. The lower hole is an observation hole for the bourry box.
Next, the arch was filled-in:


Filling in the arch required lots of brick and kiln shelf pieces, tightly packed together. Some "drops" (scrap from the cutting of kiln shelves or bricks served perfectly to top off the fire box.


When both sides of the chimney had been sufficiently built-up to buttress the arch, it was time to remove the form.
The multitude of pieces that fall from the arch when the form is removed are small pieces of wood placed under every other brick to create a staggered pattern on the ceiling of the arch. These surfaces will collected melted ash and increase the chances of beautiful and capricious drips on pieces.
The staggered bricks on the ceiling of the ware chamber increase the chances of ash glaze dripping on the pots.


In the center of the arch, I left an area open and cast a brick for the thermocouple hole. This is where temperature readings will be taken using a digital thermometer.
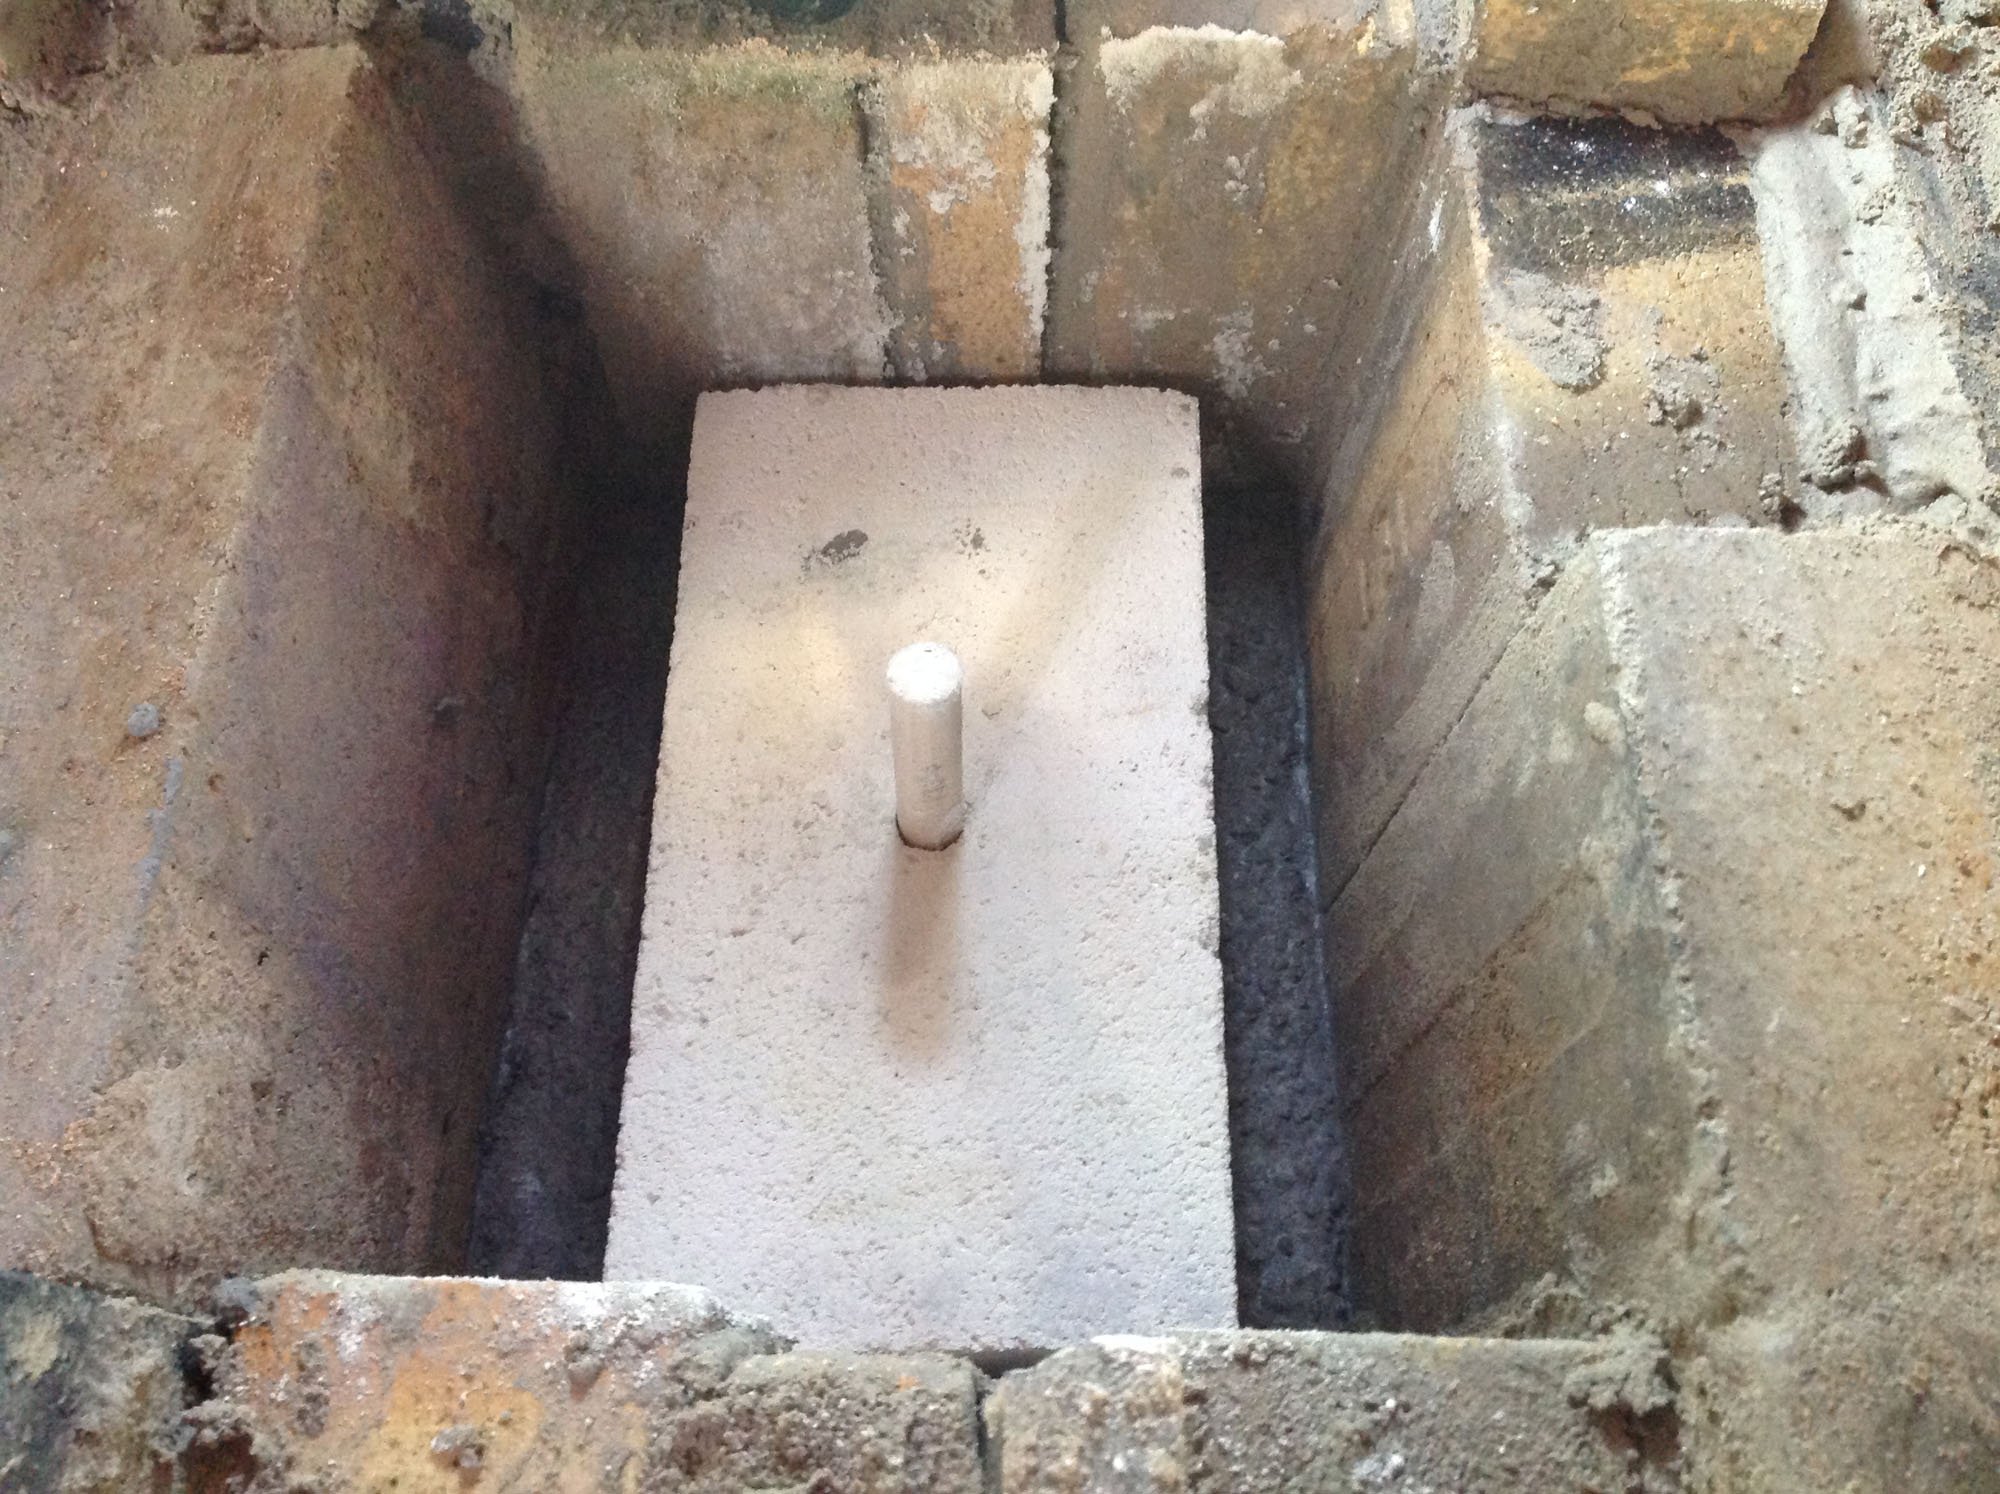
I should have kept a closer eye on the dowel I used as a spacer in the mortar mix and worked it free while the mix was drying. Instead, I'll have to drill out as much as I can and let the first firing clean out the rest. Rats!

The firebox was finished off using cast-off pieces from cut shelves. The length of this span would normally require special and expensive long bricks, or the construction of a small arch. As it was, I was lucky to find these pieces.

This picture shows the bricks as they begin to fill in the area between the arch and the chimney. The same process is happening on the other end, between the front of the arch and the firebox. Every broken brick and shelf scrap was used to fill this area in like an enormous 3-dimensional puzzle.

The brick walls on either side of the arch were interesting. Half the wall is constructed under the arch, and the other half is outside, creating a kind of heat shield for the stokers during the firing. To cut each brick to fit under the arch, I picked up a used 10-1/4" chop saw and outfitted it with a cheap masonry blade. It worked great on most heavy-duty bricks. I tried to cut a few super-duty bricks, but my cheap saw wasn't having any of it!

This is the outer portion of the wall on the door side of the kiln. Tying the inner and outer walls together wherever possible was a challenge.

We have almost completed the wall under the arch on the back of the kiln.

Once the walls were completed, a couple layers of fire brick would cover the top of the kiln. We were careful to save enough good brick to use for bricking up the doors and the spy holes.
The last brick laying job was the chimney. You can see where we ran out of heavy-duty firebrick. We planned to run out, and then purchase a lower-duty brick for the higher-up parts of the chimney to save some money.


Long lengths of 1/8" angle iron were strapped to the corners to turn the chimney into a single, solid mass. Chain and turnbuckles are placed near the bottom, middle and top of the column.

By early November the days were growing colder. Uncle Jim's kerosene heater was placed inside the kiln and we stacked cold bricks inside each evening. In the morning my parents lit the heater, and when I arrived each afternoon after school, the bricks were warm and easy to handle with my bare hands.

Once I was working from the scaffolding, Mom kept a steady supply of bricks at hand.
Dad designed and built the scaffolding that now sits ontop of the chimney shed roof. It was the perfect solution to laying bricks in such a challenging situation.


To reach the very peak, we wrapped an extension ladder with towels to avoid scratching the roof, and scrambled up. After months of work, planning and trouble-shooting, it felt wonderful to lay in the last bricks!

Here is where we left the kiln before snow began to fall. At the top of the chimney you can see two kiln shelves that sit atop, serving as a crude spark arrestor. Before we begin loading the kiln, the inside still needs to be scraped clean of extra mortar and loose bits of brick. Also, the entire kiln will be coated with an insulation coating consisting of cement, sand and vermiculite.
When spring comes, we plan to have enough pots and split firewood to fire the kiln a couple of times.